Total Ascent: 2200ft
Highest Point: 5324ft
Total Distance: 5.2 miles
Location: N 48° 3.4740, W 121° 47.8680
Required Permit: Northwest Forest Pass
Difficulty: Hard
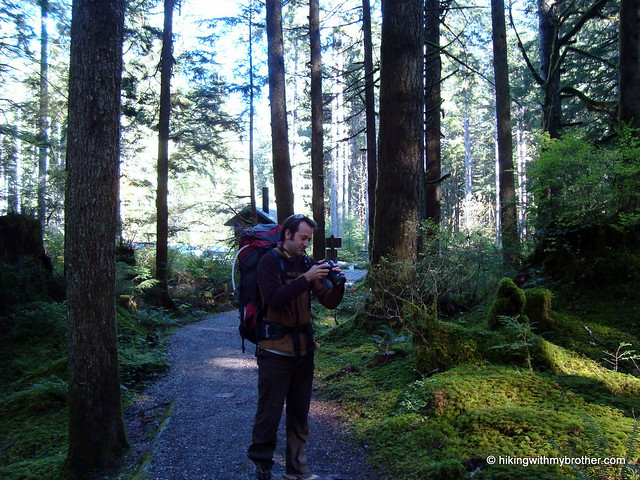
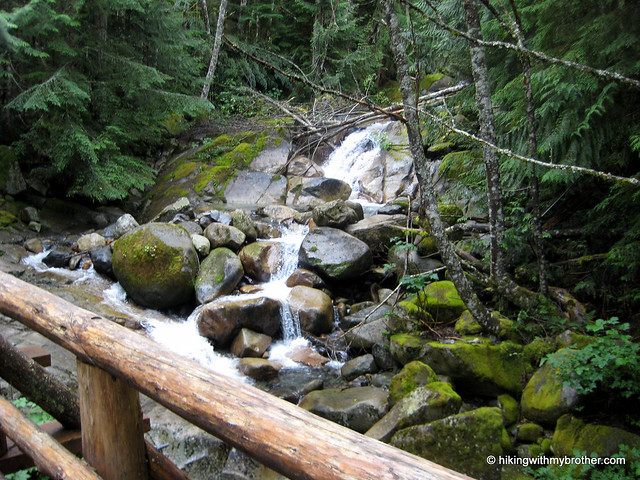
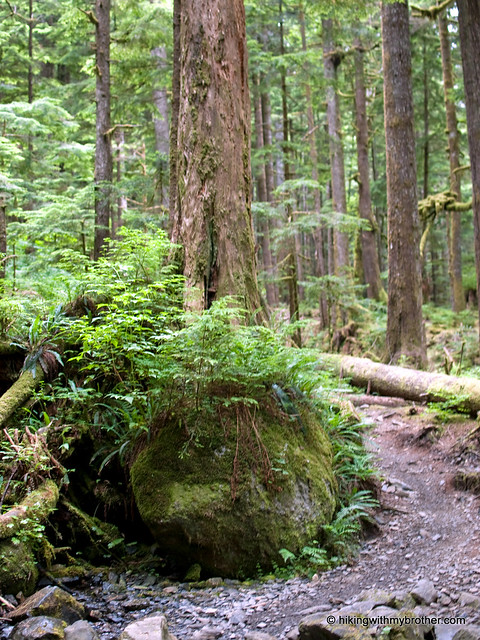
 This week we topped off a month of Mountain Loop Highway destinations with a classic, Mt. Pilchuck. For years, readers have been telling us about the views from Mt. Pilchuck’s popular summit. Despite the deepening snow, the first sunny morning in weeks found us heading toward Mt. Pilchuck State Park.
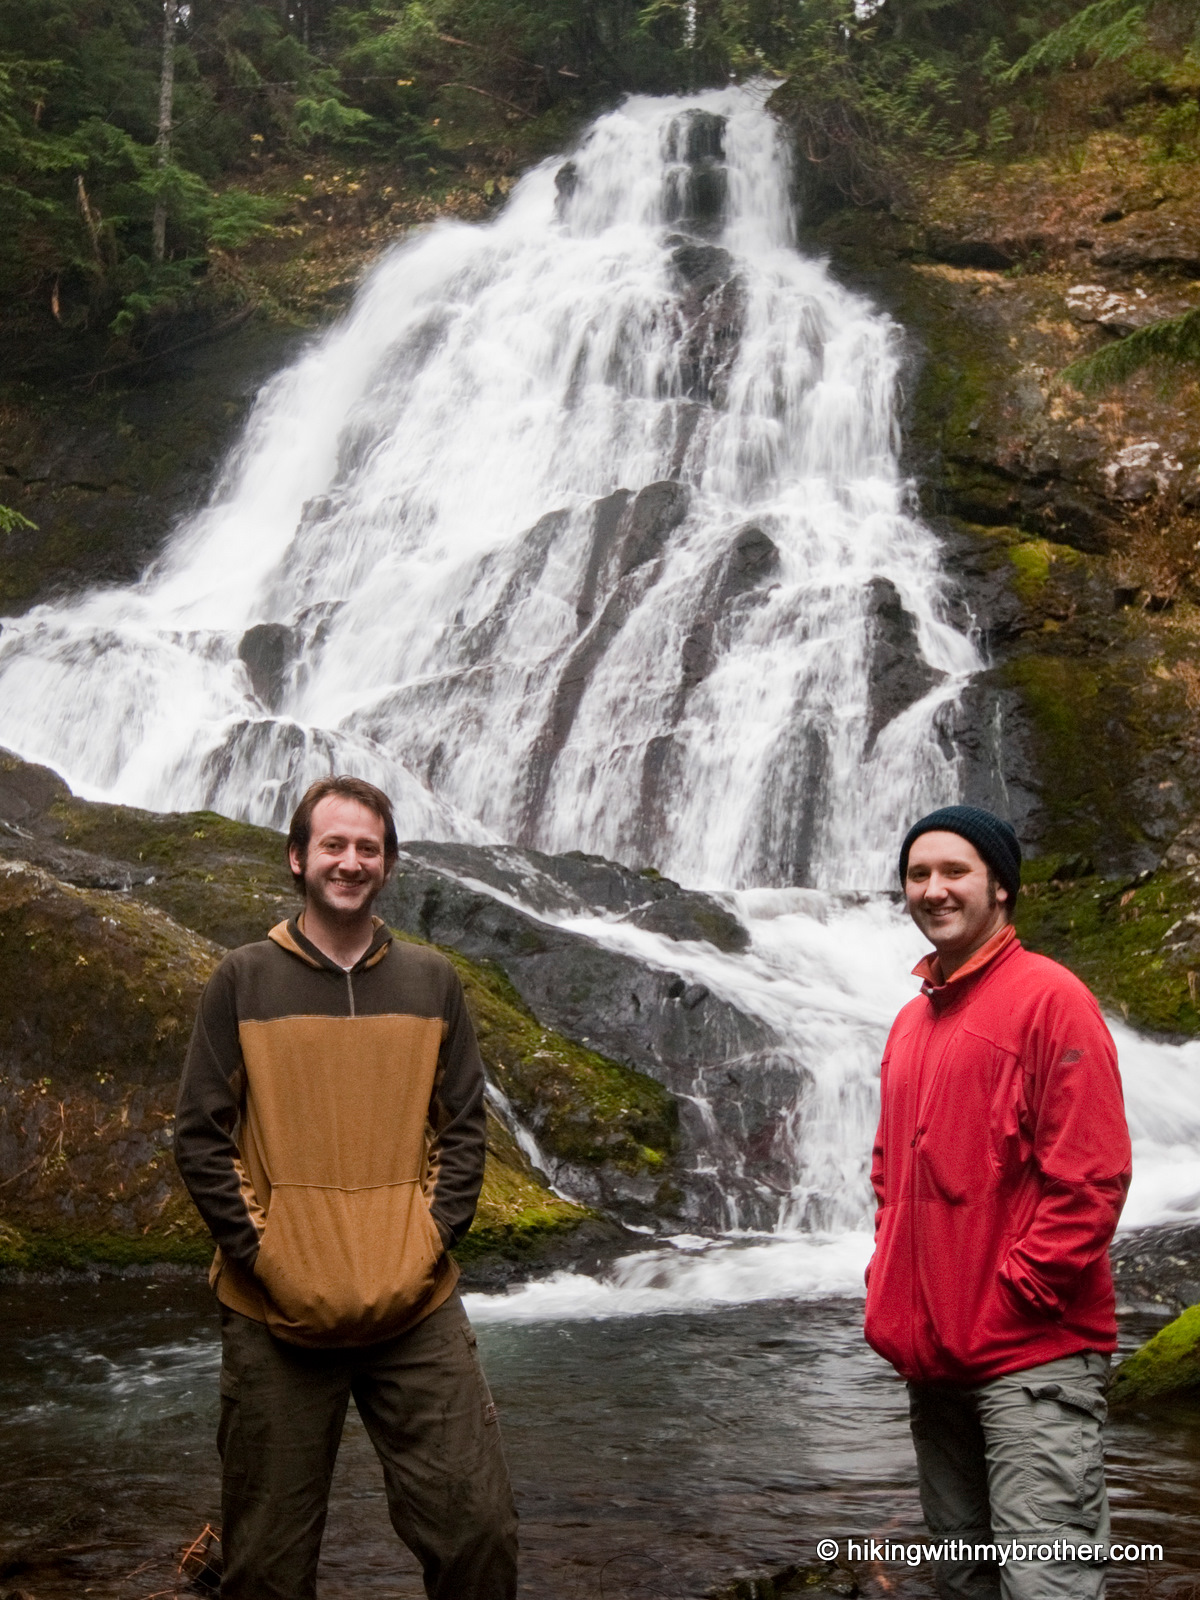
In the summer, hikers flock to Pilchuck – with such stunning views at the end of a fairly short trail, it’s easy to see why. We had some company on our snowshoe to the top, but this was nothing compared the crowds you’ll navigate on a July weekend.
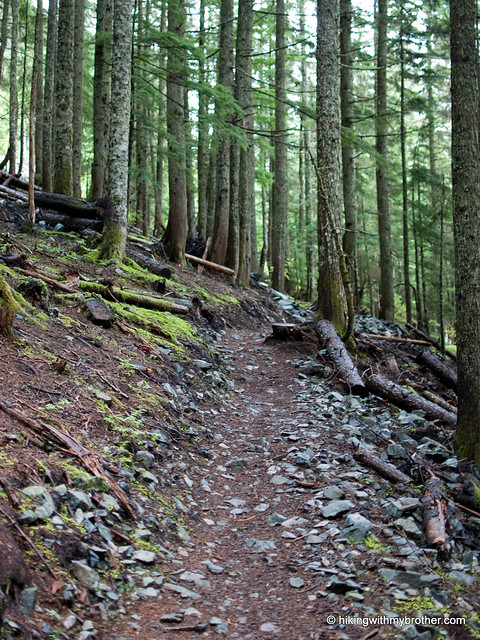
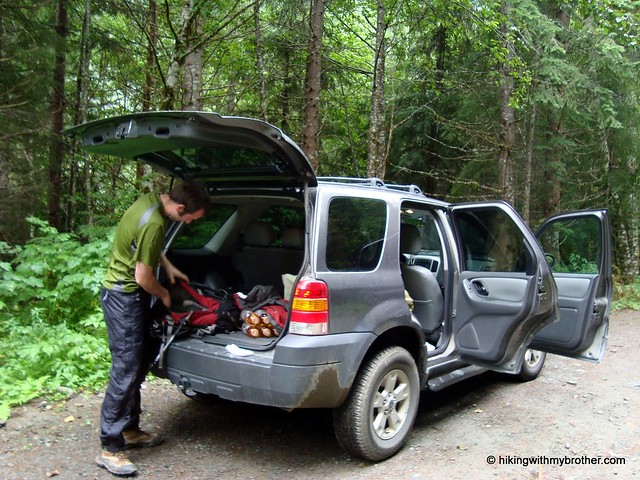
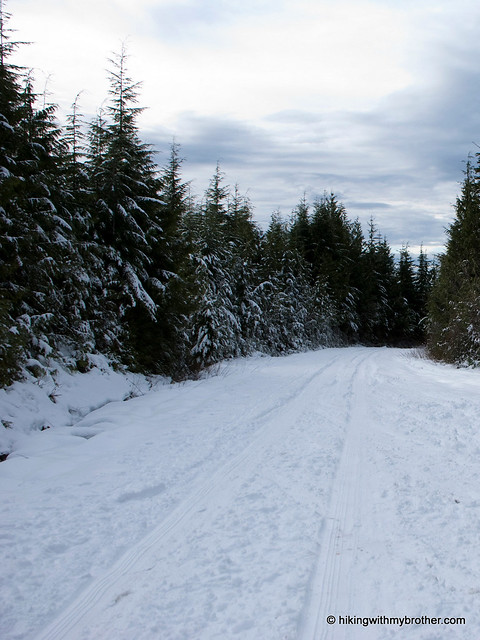
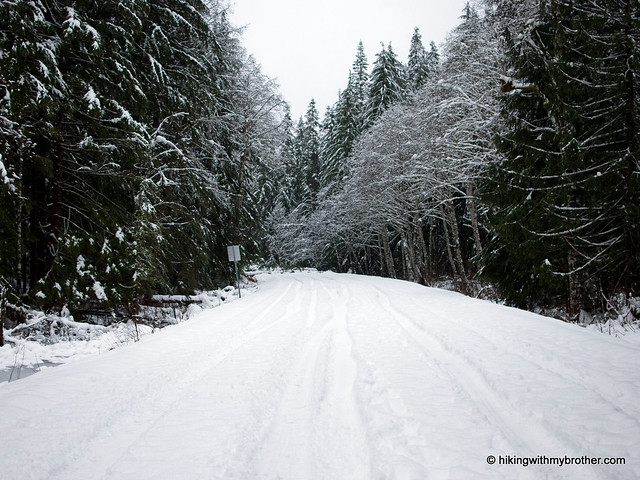
 We highly recommend trying this in the early winter, when the snow is clean and powdery, and the wind has sculpted the trees to look like something out of a children’s book. However, use caution in the winter months. The route is marked, but it occasionally skirts avalanche chutes, and the mountain has plenty of abrupt cliffs that can sneak up on the unwitting snowshoer. Snow also makes parking at the trailhead nearly impossible – simply go as far along Mt. Pilchuck Road as your vehicle can, and hike the remaining miles to the trailhead.
There's a lot more to Mount Pilchuck, and you can learn all about it in our book, Hiking Through History Washington. You'll find a trail map, route descriptions, history, and more
 for this and many more hikes throughout the State. Help support hikingwithmybrother.com and the work we do by picking up a copy!
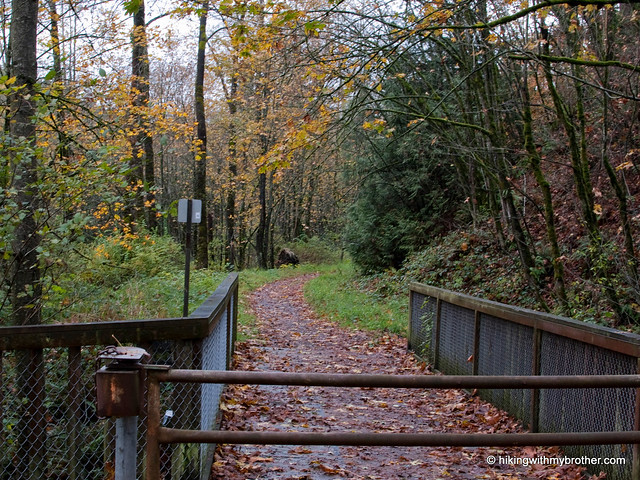
To get there, take I-5 North to Exit 194. Follow Highway 2 for about two miles. Stay in the left lane and merge onto Lake Stevens Highway 204. Follow for two miles to Highway 9. Take the left onto Highway 9 toward Lake Stevens. In just under two miles, reach Highway 92 to Granite Falls. Take a right and follow for about nine miles to the Mountain Loop Highway (MLH). Follow the MLH for 12 miles to Mount Pilchuck Road, just over the bridge crossing the South Fork Stillaguamish River. Follow the forest road seven miles to the trailhead. - Nathan
Print Google Directions >>


 Our hard work this year has paid off big by winning the