about us | links | permit info
Subscribe to Hiking With My Brother Email Subscribe Follow Hiking With My Brother on Facebook Follow Hiking With My Brother on Twitter Hiking With My Brother Picasa Hiking With My Brother YouTube

Big and Little Greider Lakes Trail

Our Hiking Time: 5h
Total Ascent: 1500ft
Highest Point: 3000ft
Total Distance: 4 miles (8.2 miles from Site 3)
Location: N 47° 57.5460, W 121° 34.9920
Required Permit: Discover Pass
Difficulty: Moderate

Nathan's PhotoRecently we had been hearing some good things about the Sultan Lakes Basin, and decided it was time to check it out. We chose a short and popular hike, Greider Lakes, to get a feel for the area. Unfortunately, when we hiked this trail, the road was closed almost two miles from the trailhead, extending our hike. As of late 2011, the closure is permanent and as a consequence this trail has deteriorated and is becoming overgrown from lack of maintenance.

The lakes were named by Claude E. Greider, a member of the Forest Service that evidently found the lakes reminiscent of himself. Sometime after their christening, the area around the lakes suffered a forest fire, evidence of which still lingers along the Grieder Lake trail. The lakes feed Greider Creek, which, in turn, flows into the massive  little greider lake hikingwithmybrother
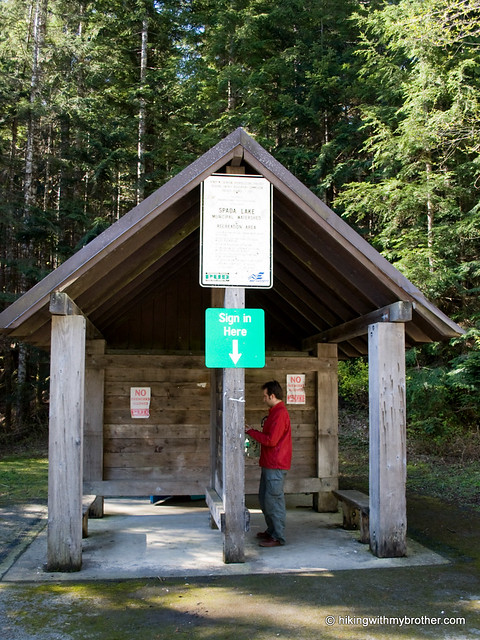
Spada Lake Reservoir – the water source for nearby cities like Everett.

The well-marked trailhead begins at Reflection Ponds, a marshy area best explored in cooler, insect-free months. Once across the water, the trail begins to ascend at a decent clip. The vast majority of the elevation gain for this hike is in the first leg, comprised almost entirely of switchbacks. Additionally, the narrow trail is a bit rocky and root-ridden. To help things along, volunteers carved and hacked dozens of steps into the mountainside. Some areas of the trail are quite steep and the steps come in handy.

After a mile and a half, the trail levels out and enters quiet stands of older growth. Little Greider Lake appears at the two-mile mark, passing various campsites as the trail hugs the western shore. Of the two lakes, Little Greider has the better camping. One site in particular, located near Greider Creek, looked ideal, and would make a great base camp for exploring some of the surrounding peaks. Push on for another half-mile to Big Greider Lake.

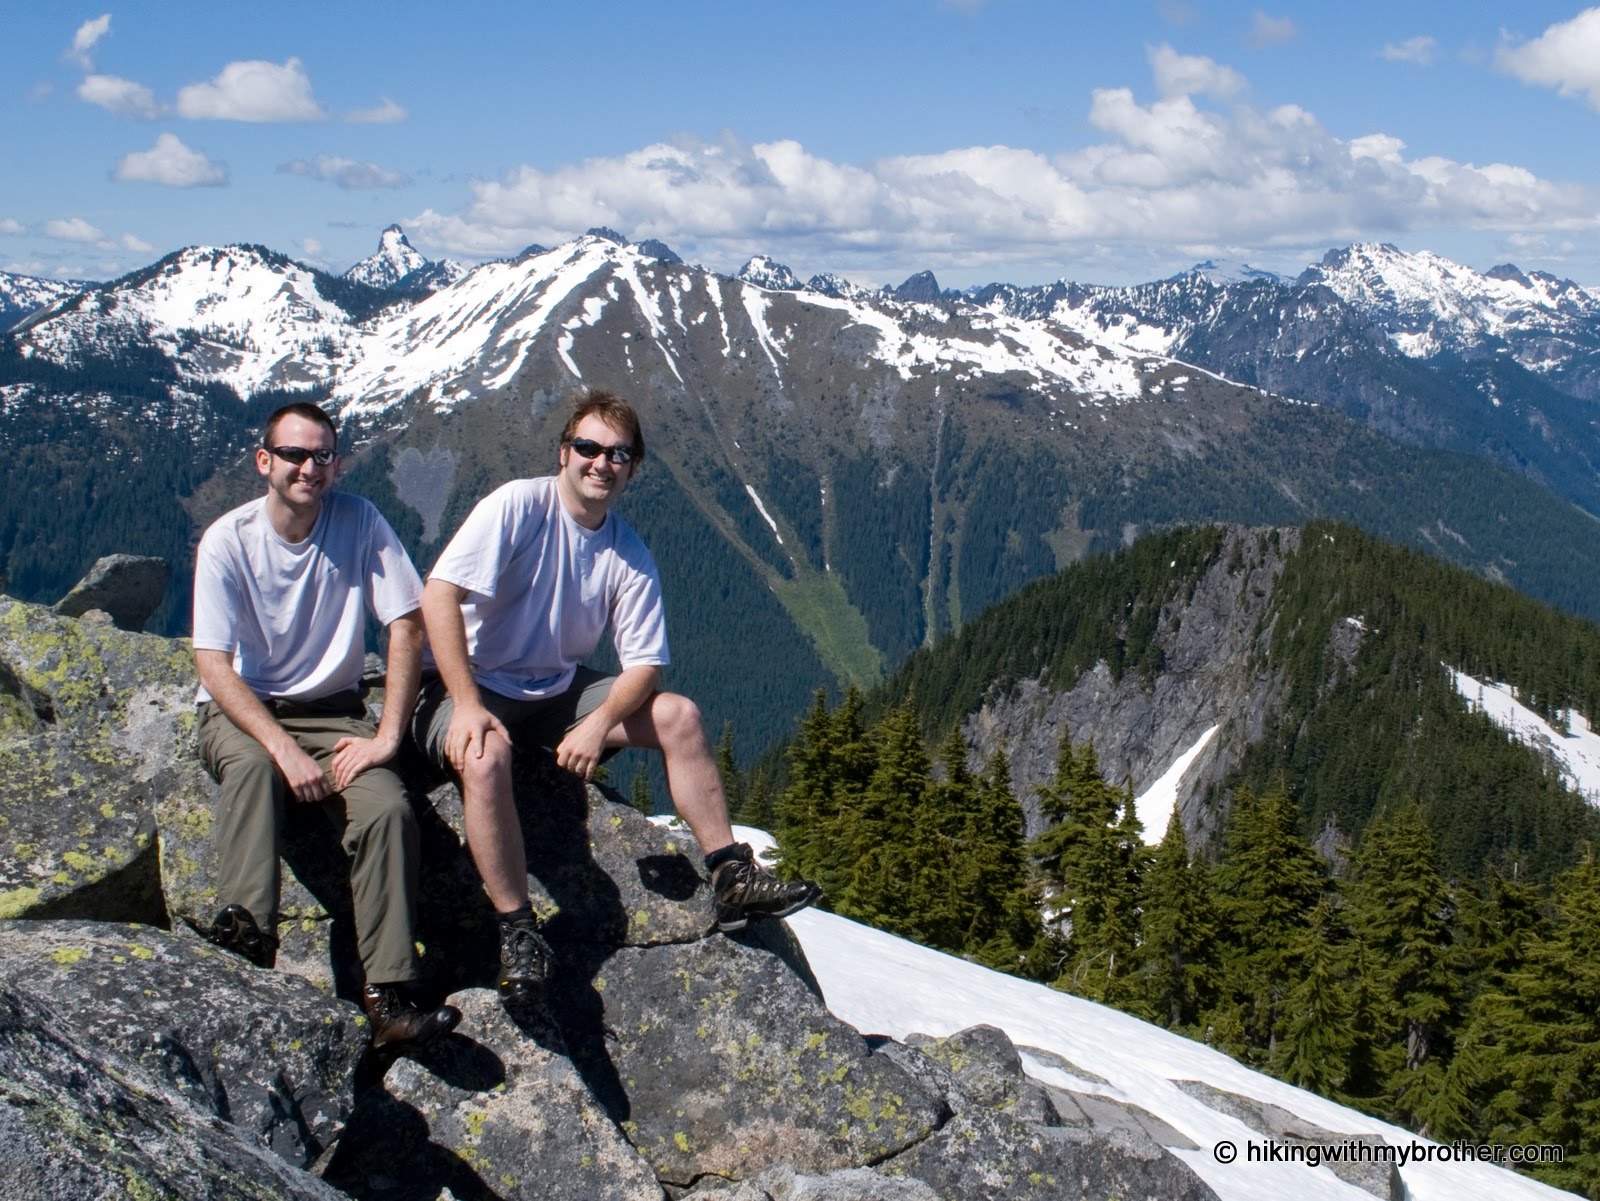
Where Little Greider has the better camping, Big Greider has the more impressive landscape. The lake fills the bottom of a talus-lined bowl, with Greider Peak looming largest over the water. Depending on the time of year, snow-fed waterfalls pour down exposed cliff faces and into the big greider lake hikingwithmybrotherlake. The lake’s outlet is clogged with driftwood, creating a great platform for viewing the lake or accessing the far side. The trail ends here, though the berry bushes that line the lakeshore are riddled with worn bootpaths. Find a log to eat lunch on or do some exploring to find a more secluded spot to enjoy the lake.

All in all, this is a fun little hike to a pair of lakes that have a backcountry feel normally associated with more remote areas. We declined to bushwhack our way up the overgrown and apparently “closed” trail to a lookout prominence on Greider Peak, but it is certainly a option for those that want a little extra. While the route is steep, extensive trail improvements have smoothed over the rough edges and made this hike approachable for most hikers. This hike has a good mixture of elevation and distance to make it a great hike.

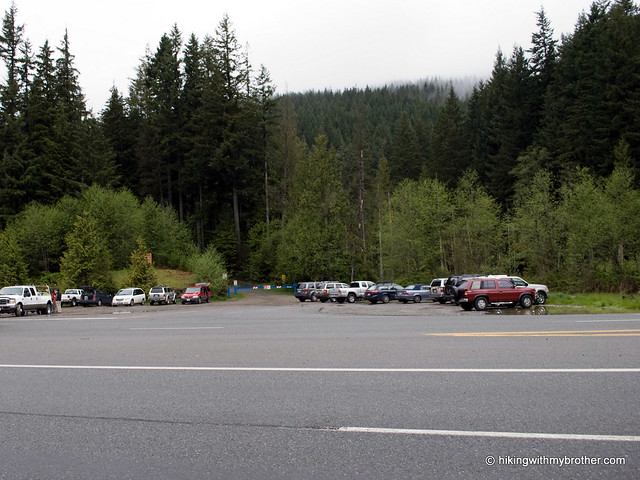
To get there, take Highway 2 to Sultan. Turn left onto Sultan Basin Road and drive 13 miles to Olney Pass and registration station. Stop to register, then right at the nearby junction and follow Forest Road 61 for seven miles to trailhead. If the road is still closed at Site 3, park at the boat launch and hike the remaining two miles to the trailhead. -Nathan

Greider Lakes

Humpback Mountain Trail

Our Hiking Time: 3h 45m
Total Ascent: 2700ft
Highest Point: 5174ft
Total Distance: 4 miles
Location: N 47° 22.4160, W 121° 29.7300
Required Permit: None
Difficulty: Hard

Nathan's PhotoAfter weeks of ponds, lakes, and creeks, the snow has retreated enough to make some shorter peaks pleasantly accessible. The moment the weather cleared up enough for some good views we packed up and headed out to a non-descript mountain along the I-90 corridor: Humpback Mountain. The talus-covered climb had been on our list since we visited Annette Lake and it was well worth the wait.

As one might expect, Humpback’s shape – a smoothly curving ridgeline arching up one side of humpback mountain abiel peak annette lake hikingwithmybrotherthe mountain and down the other – inspired the Mountaineers to christen it “Humpback,” probably in reference to the whale. The mountain sits between two long abandoned railroad stations, Bandera and Rockdale. The old railroad grade still runs along Humpbacks slopes, today carrying hikers and bikers along the Iron Horse Trail.

There is no officially maintained trail up Humpback Mountain, but there is a well-worn and easily followed path kept up by a few dedicated volunteers. However, finding the trailhead is the most confusing part of this hike. First, there is more than one way to access the trail. You can take one of two roads off Forest Service Road 5510. Each has its own advantages. The higher road, obviously, cuts out some elevation but takes a mile to intersect with the trail. We took the lower road, which gets you off the logging road and onto the trail in a half-mile. Second, after you decide your approach, there are no helpful signs or rock cairns to guide you to the trailhead, you just need to keep an eye out for tags or a clear indication to turn up the ridge.

humpback mountain mt rainier hikingwithmybrotherWhichever way you choose, the workout begins once you find the trail. Expect a straightforward approach with little in the way of switchbacks. Climb though a young forest of hemlock and fir and into older growth. As you near the top, a few plateaus temper the upward march before the trees thin and talus begins. Navigating the rocks and boulders can be difficult if you allow yourself to get distracted by glimpses of the views that wait at the top. On a good day, the landscape stretches out from Humpback’s rocky summit in every direction. To the north, across I-90 are Granite and Bandera with the distinctive tooth of Kaleetan Peak rising behind. Immediately the east, Silver Peak and Abiel Peak surround Annette Lake and take up most of the skyline. To the south, a vast sea of forest stretches to the base of Rainier. Humpback’s western neighbor, Little St. Helens sits above the Snoqualmie Valley and the interstate leading back toward the city.

Short, intense and rewarding. We enjoyed this hike, though it’s not for everyone. The steep and relentless grade makes it a training hike, but not ideal for a causal walk in the woods. Still, it is a short amount of distance to get views normally reserved for much longer hikes. If the hike is too short for your taste, you can extend the hike down the other side of humpback mountain granite mountain hikingwithmybrotherHumpback to Scout Lake, though we understand the trail down to the lake is something of a scramble. Humpback Mountain is also not as well known as other nearby hikes, so it is also a great alternative on those crowded sunny days.

To get there, take Exit 47 off I-90 and take a right over the bridge. At the intersection, turn right onto Tinkham Road (aka Forest Road 55). Continue on the gravel road for just over a mile to a fork.  Veer left onto the Hansen Creek Road (aka Forest Road 5510) and continue one-and-a-half miles, under an old railroad trestle to the first trailhead - marked by large boulders blocking a forest road.  From here, you have a choice. You can park at this bend and follow the unmarked road, or you can continue up for another half-mile to a locked gate and another left branching logging road. Both options intersect with the Humpback Mountain trail. Find a space to park and hit the trail. -Nathan

Print Google Directions >>

Humpback Mountain

Taylor Mountain Summit

Our Hiking Time: 4h 15m
Total Ascent: 1700ft
Highest Point: 2598ft
Total Distance: 8 miles
Location: N 47° 27.2760, W 121° 53.6820
Required Permit: Discover Pass
Difficulty: Moderate

Nathan's PhotoThe most frustrating thing about Taylor Mountain Forest was the lack of clear access to Taylor Mountain itself. The last time we visited, we assumed – perhaps naively – that if a mountain appears in the name of a park one could expect to find a trail leading to the summit. Just like nearby Tiger, Cougar and Squak. We learned the hard way that Taylor Mountain is outside the park boundaries and gave up thinking we could reach the top. Thankfully, a helpful reader recently sent us directions to the mountain. Determined to finish what we’d started a few years ago, we headed back to Taylor Mountain.

taylor mountain summit hikingwithmybrotherWe found very little information on Taylor Mountain itself, which is the primary reason it took us so long to find our way to the top. Most sources focus on the forest surrounding the park, an experiment in mixing logging and recreational land use that has lasted for nearly 15 years, with marginal success.

Access to the summit follows logging roads past a number of junctions. For the first quarter mile you will be on Forest Road 35900, before turning up 35920. At most of these, continuing to head uphill is the right way to go. The only exception is at roughly the one mile mark where Road 35920 heads downhill.

The trickiest part of this hike is getting to the trailhead. There is room for a few cars in front of the gate, but there are a few “No Parking” signs posted, so we opted to park in the nearby Tiger Mountain Summit lot. Unfortunately, parking here requires a quick dash across the highway to get back to the gate, which can be a bit of a hassle. Once you’re at the gate, it is fairly smooth sailing under the power lines and up the mountain side. Amble through alders and young hemlock already edging out the salal and salmon berry that took over after the area was logged. As you hike, keep an eye out for wildlife, we encountered more than we expected, including quite a few hummingbirds.

taylor mountain summit hikingwithmybrotherThis is not the best hike we’ve ever been on. We’re no strangers to walking along logging roads to get to where we are going, but the road to the top does not lend that feeling of getting out into nature that one usually hopes to find on the trail. The route goes through large swaths of recovering clear cuts and culminates in an alder covered summit that is light on views. Some interesting perspectives on Tiger Mountain and Highway 18 are about all you can expect out of this trip, though the network of logging roads are in good condition and could keep the mountain biking set interested for quite some time. And, if you’re looking for something quiet and very close to the city this might just fit the bill.

To get there, take I-90 to Exit 25 Highway 18 junction. Follow Highway 18 south for about 5 miles to the signed Tiger Summit Trailhead parking lot on your right. Park here. Access to Taylor Mountain is on the other side of Highway 18; you will need to cross and walk north a few hundred feet to blue-gated Road 35900. -Nathan

Taylor Mountain Summit
Copyright 2008-2016 - hikingwithmybrother.com
hikingwithmybrother@gmail.com