Total Ascent: 200ft
Highest Point: 2560ft
Total Distance: 2 miles
Location: N 47° 25.4760, W 121° 26.0100
Required Permit: Northwest Forest Pass
Difficulty: Easy
 One of the best times to re-discover a hike is during the winter; the crusty snow and low temperatures work to transform a mundane stroll into an exciting exploration.
  Such was the case with Franklin Falls. While we’d made the mile-long trek from the parking lot to the waterfall a number of times in the past, it had always in the heat of summer alongside many other hikers. This was an opportunity to experience the trail in a whole new light.
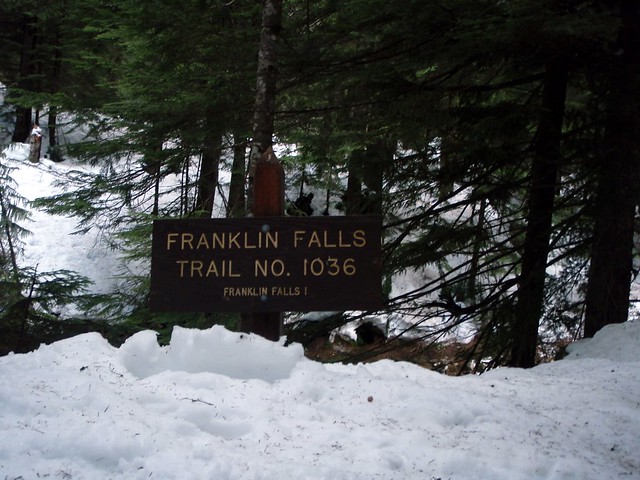
Franklin Falls Trail No. 1036 hugs the bank of South Fork Snoqualmie River as it winds beneath a thick canopy of cedar and pine. Early on the trail, you’ll wander past a few summer homes and short spur trails that wind down to access the creek. As you gain some elevation, the din of I-90 will occasionally rise above the babble of the creek, but this is soon replaced by the roar of the falls themselves.
At about 1/4 mile we found the trail washed out and were forced to take a bit of a detour around the mess. Regaining the trail, we enjoyed the views of the icy creek below, having few problems with the footing until we were almost within sight of the falls. Slick snow banks necessitated using our hiking poles to make sure we didn’t slip and take a dunk in the creek. With some delicacy, we navigated the snow and found our way down to the rocks below. The constant spray
 from the 70’ falls had built up a thick layer of ice on the rocks, which made getting close impossible, though that didn’t stop us from a few creative attempts at it. Even had we succeeded, we would have still been unable to make out the full extent of the 135’ falls. Shrouded in the trees above, the two additional tiers of Franklin Falls plunge into a series of deep pools, the granite tinting the water a rich green.
For those looking for a loop, just as you climb up from the falls, a signed junction to Wagon Road Trail No. 1021 offers a lesser-used track back to the car. The Wagon Trail follows small portions of the same 1860’s Snoqualmie Pass Wagon Road that we saw at Ollalie State Park. While it certainly offers a quiet alternative, this trail is not well-signed, which can cause problems when it crosses over the winding Forest Road 58 before depositing you near the parking for the Franklin Falls Trailhead.
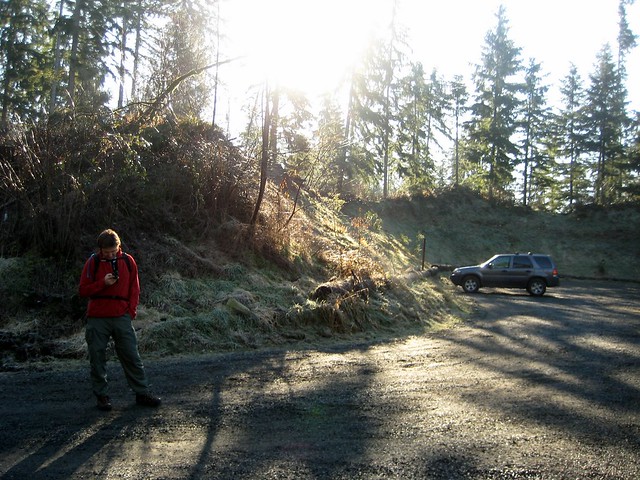
To get there, take I-90 to Exit 47 and head left over the freeway to a
 signed "T". Take a right here, heading under the freeway for about a 1/2 mile to find FR 58. Head left on FR 58 for a few miles to Denny Creek Campground. Just past the entrance to the campground take a left onto Road No. 5830 and park just before the bridge. If this area is full, continue on to the Melakwa Lake trailhead and parking located at the end of the road. If you want to access the upper falls, continue on FR 58 for two miles to a large pullout on the left side of the road. An unmarked trail leads to the falls. –Nathan
Print Google Directions >>